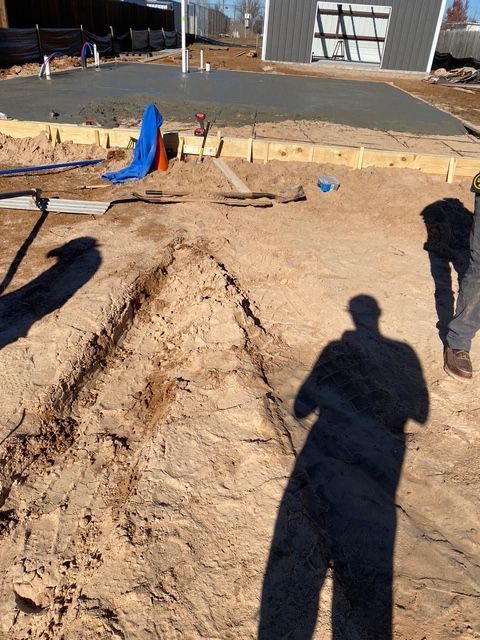
Concrete and dirt work 1 month
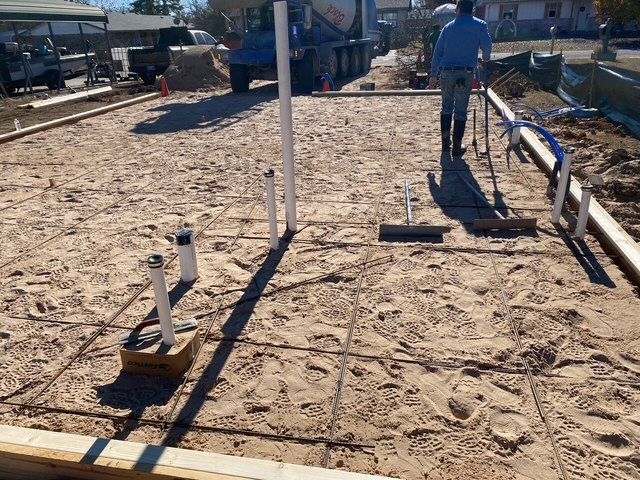
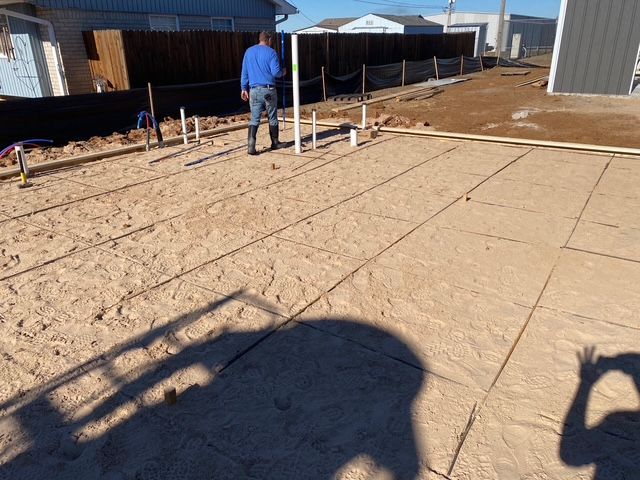
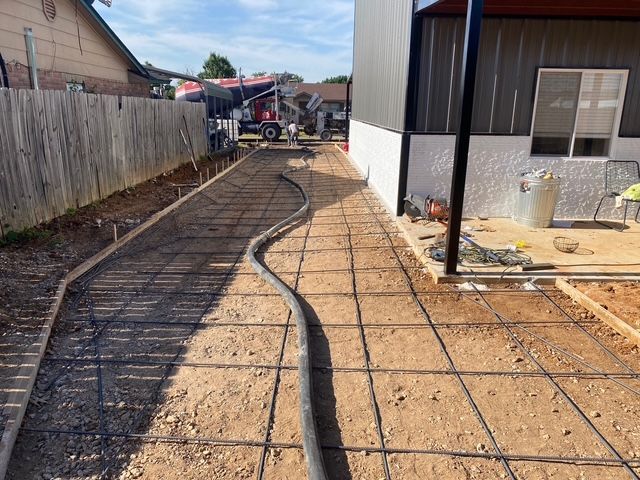
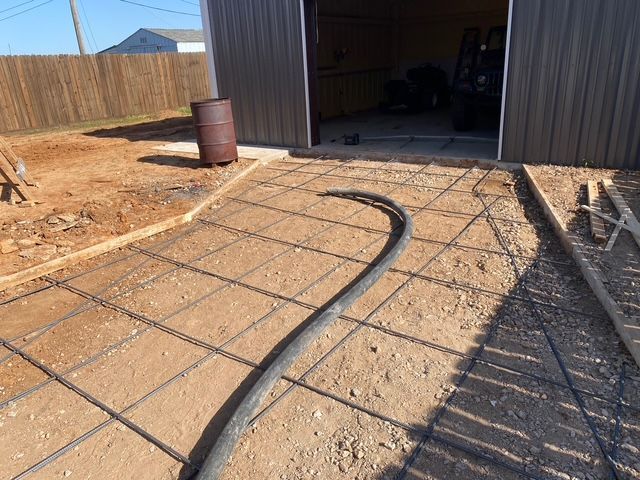
Laying and tiring rebar
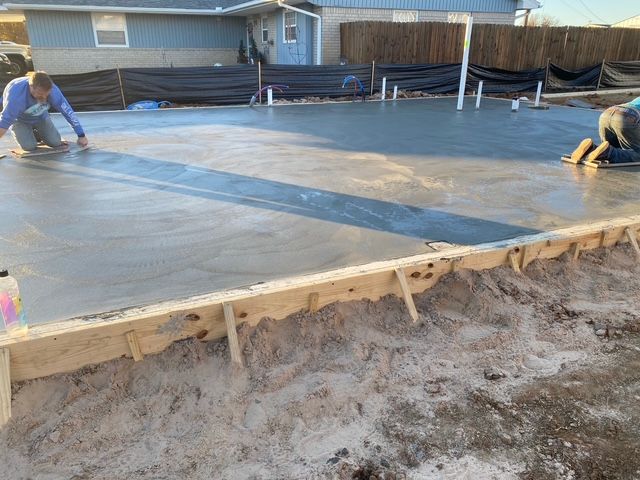
End of the first truck
First pass of finishing after weld plates
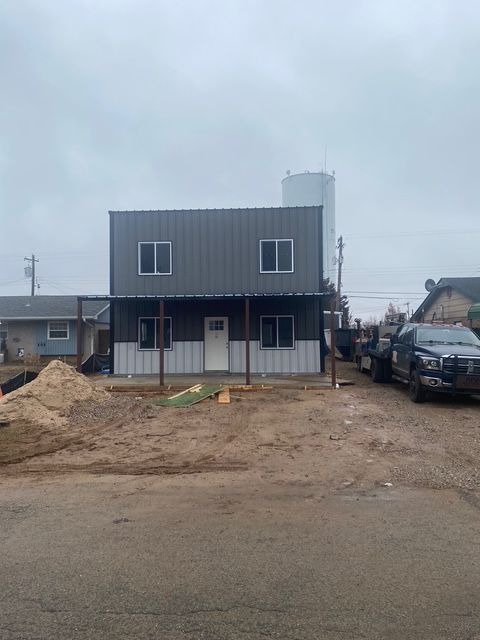
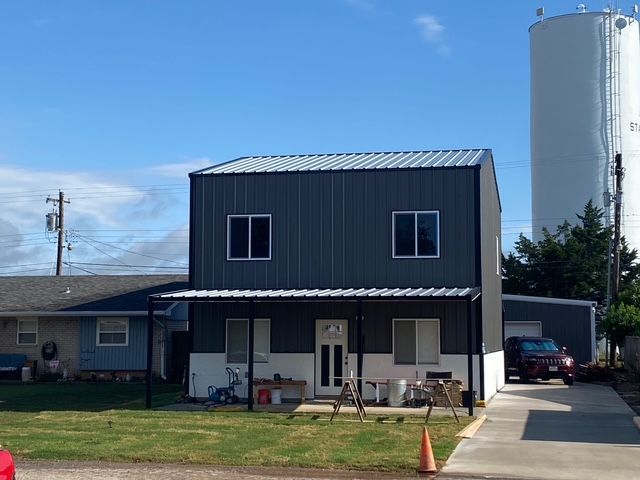
1 1/2 months later the metal crew had it put together.
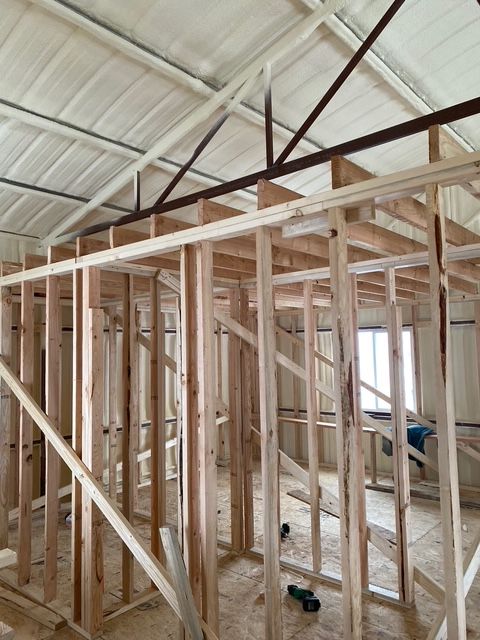
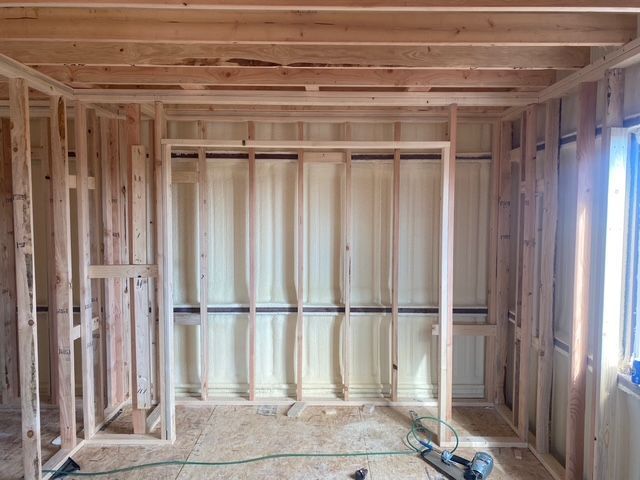
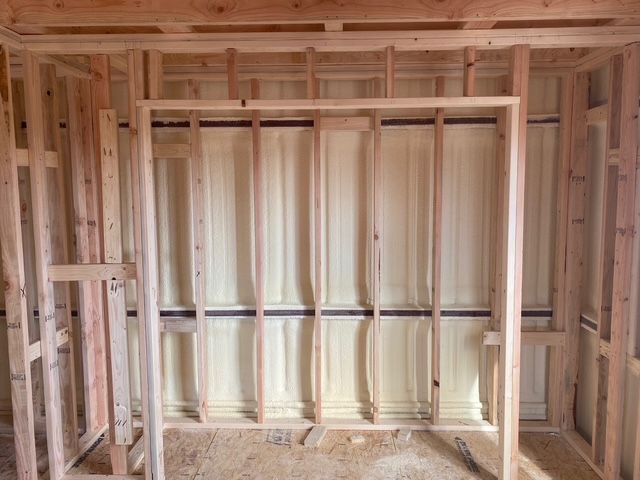
Interior frame took 3 weeks
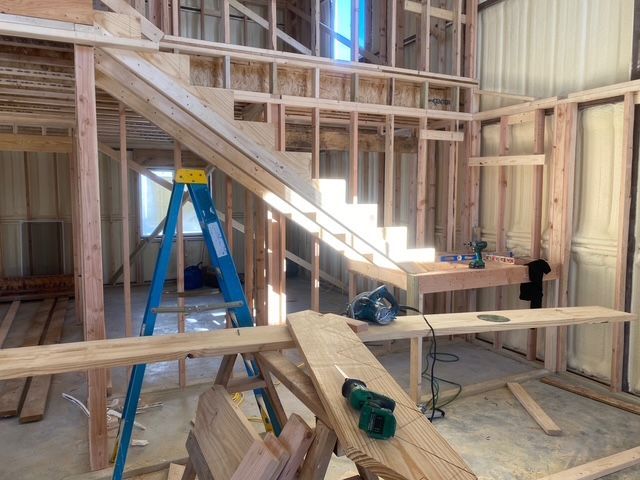
I rough framed the steps at 3’ wide and included a pantry and storage in the master closet
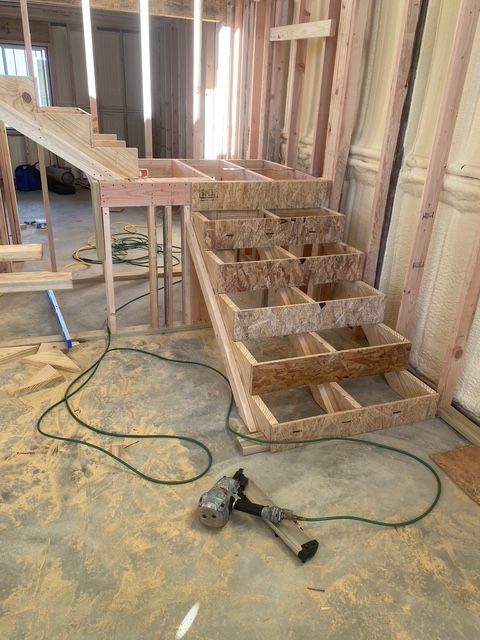
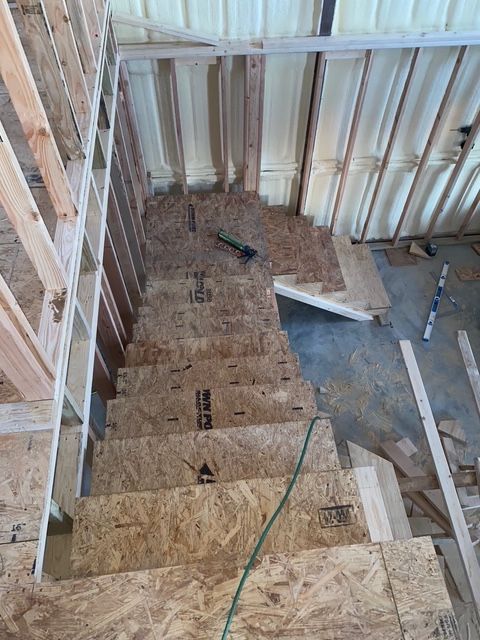
Adding risers and runners to the stringers
After glue and nailed down with 2 and 3/8 ring shank nails
The second story bedrooms
The same closet after blocking and backing complete
Hanging boxes for electric
We set up walkways for concrete in the beginning of the build so if the customer wanted changes made a few months further it is much easier to adjust before concrete is poured
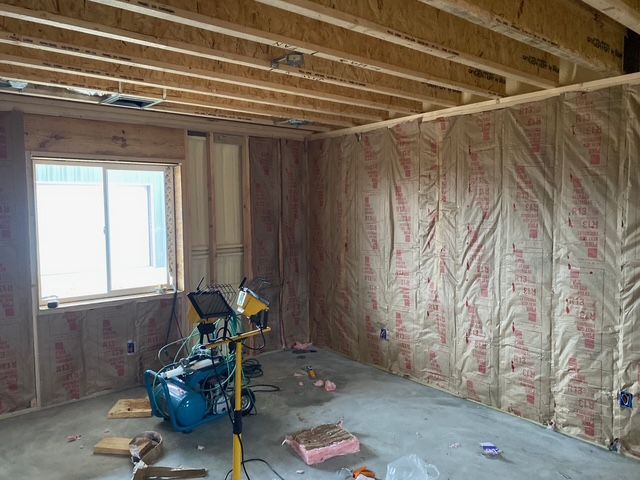
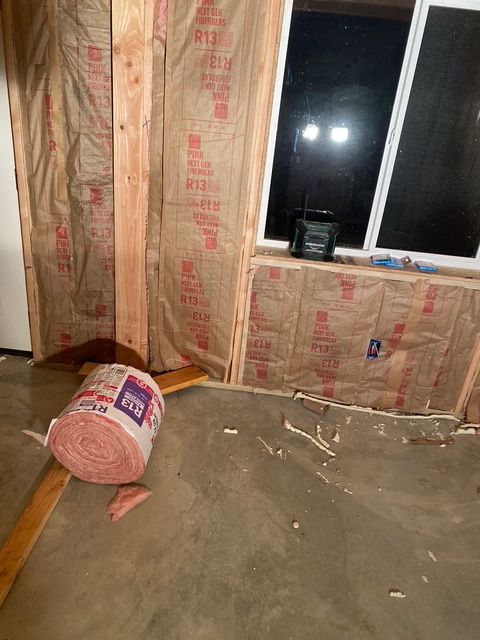
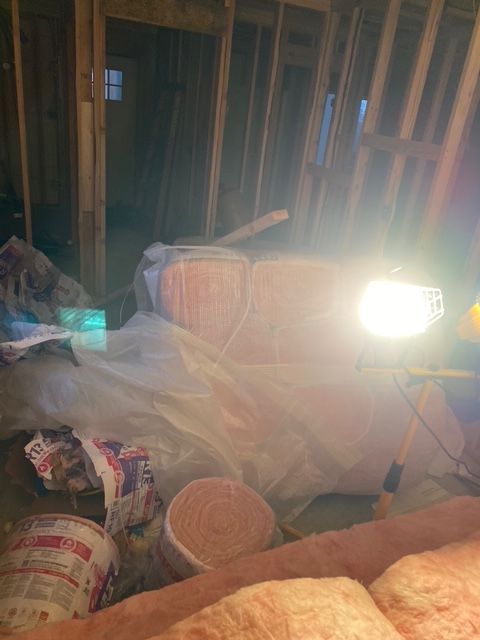
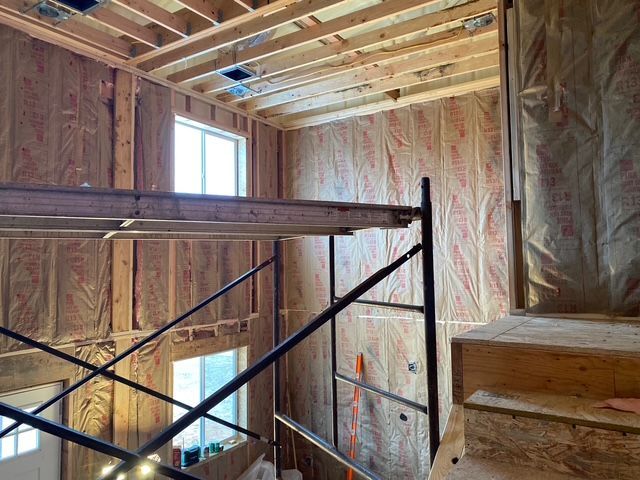
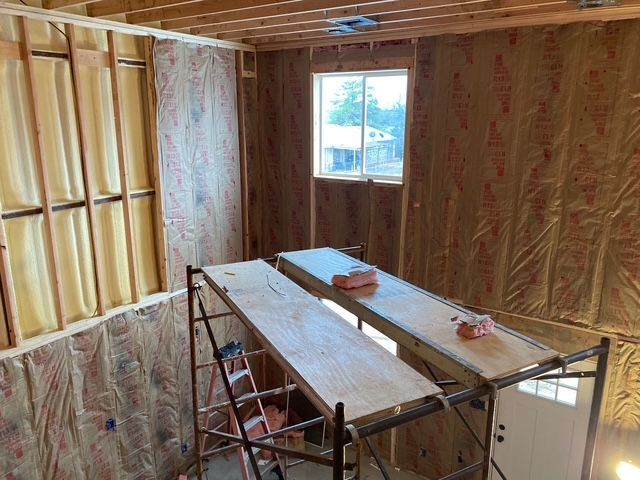
Insulation took me 3 days
Master bedroom above
Front entry wall
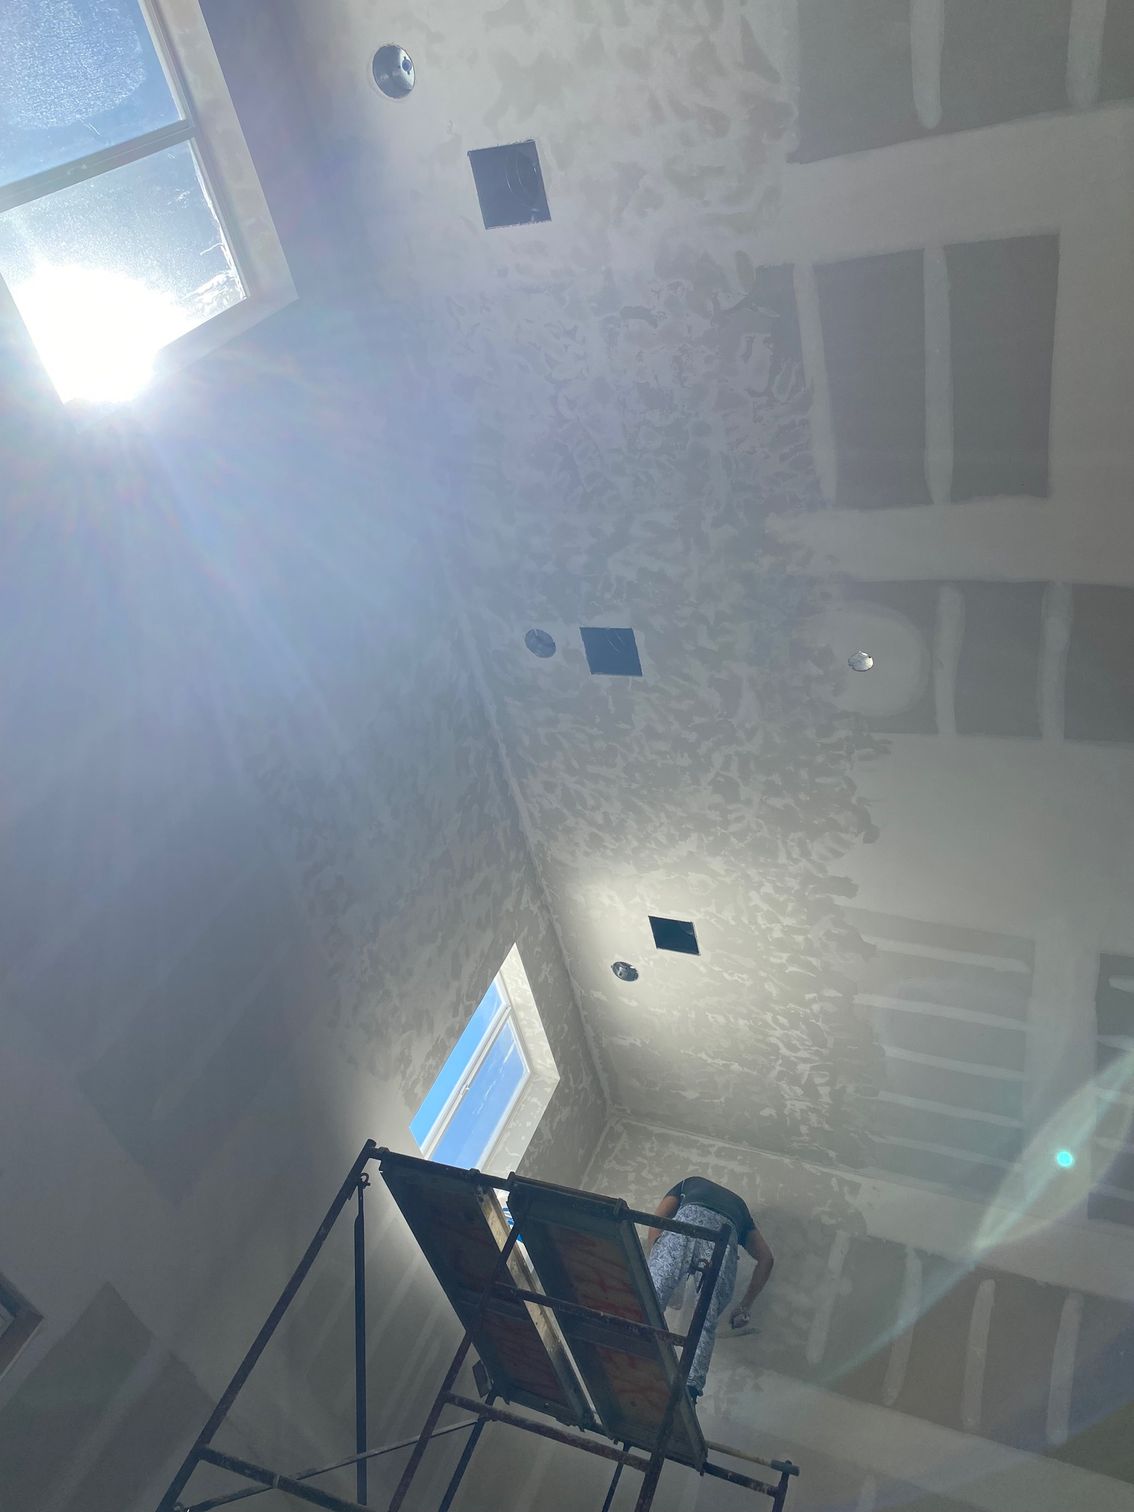
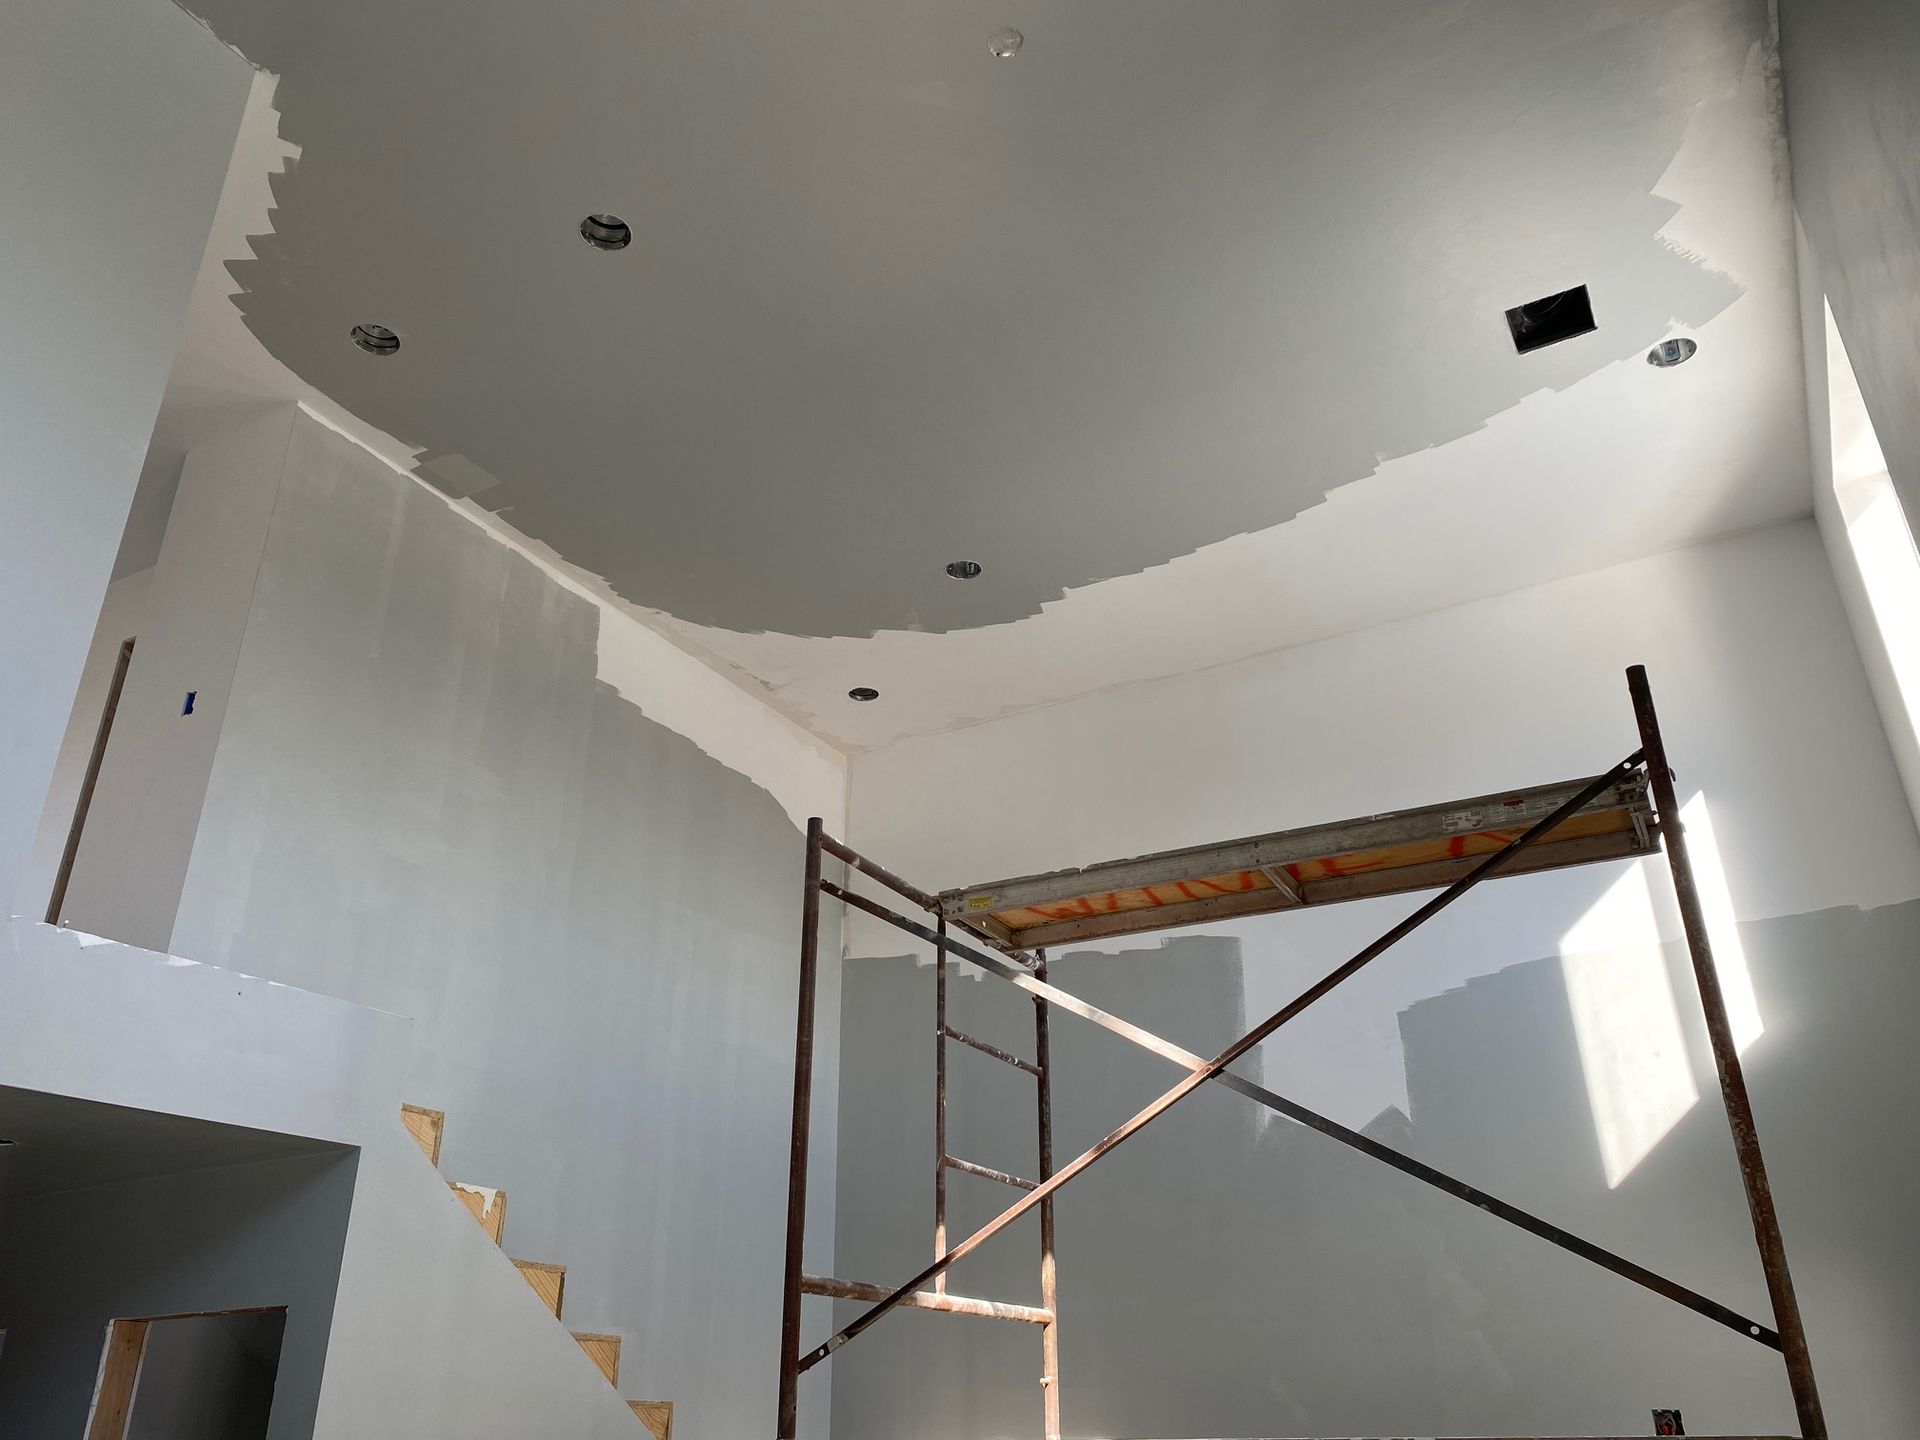
Open ceiling no insulation
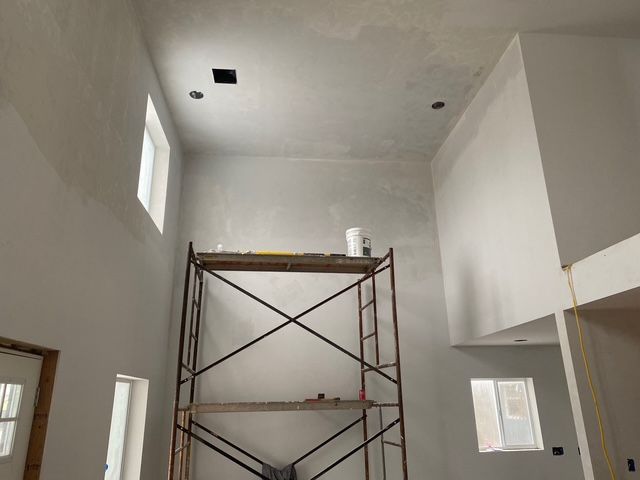
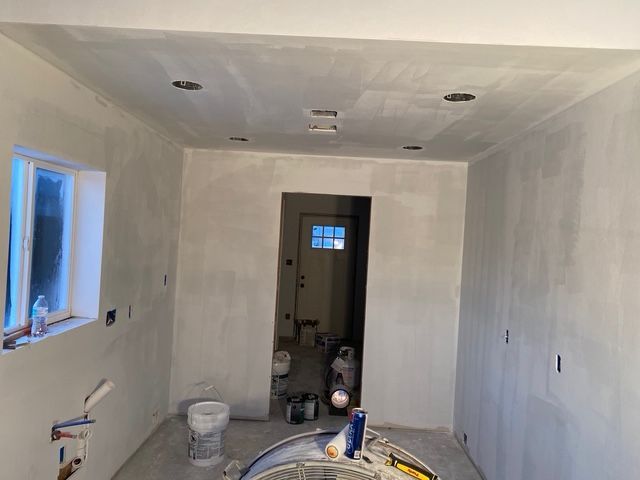
Tape bed drywall and texture took roughly 2 weeks with cold weather and other variables
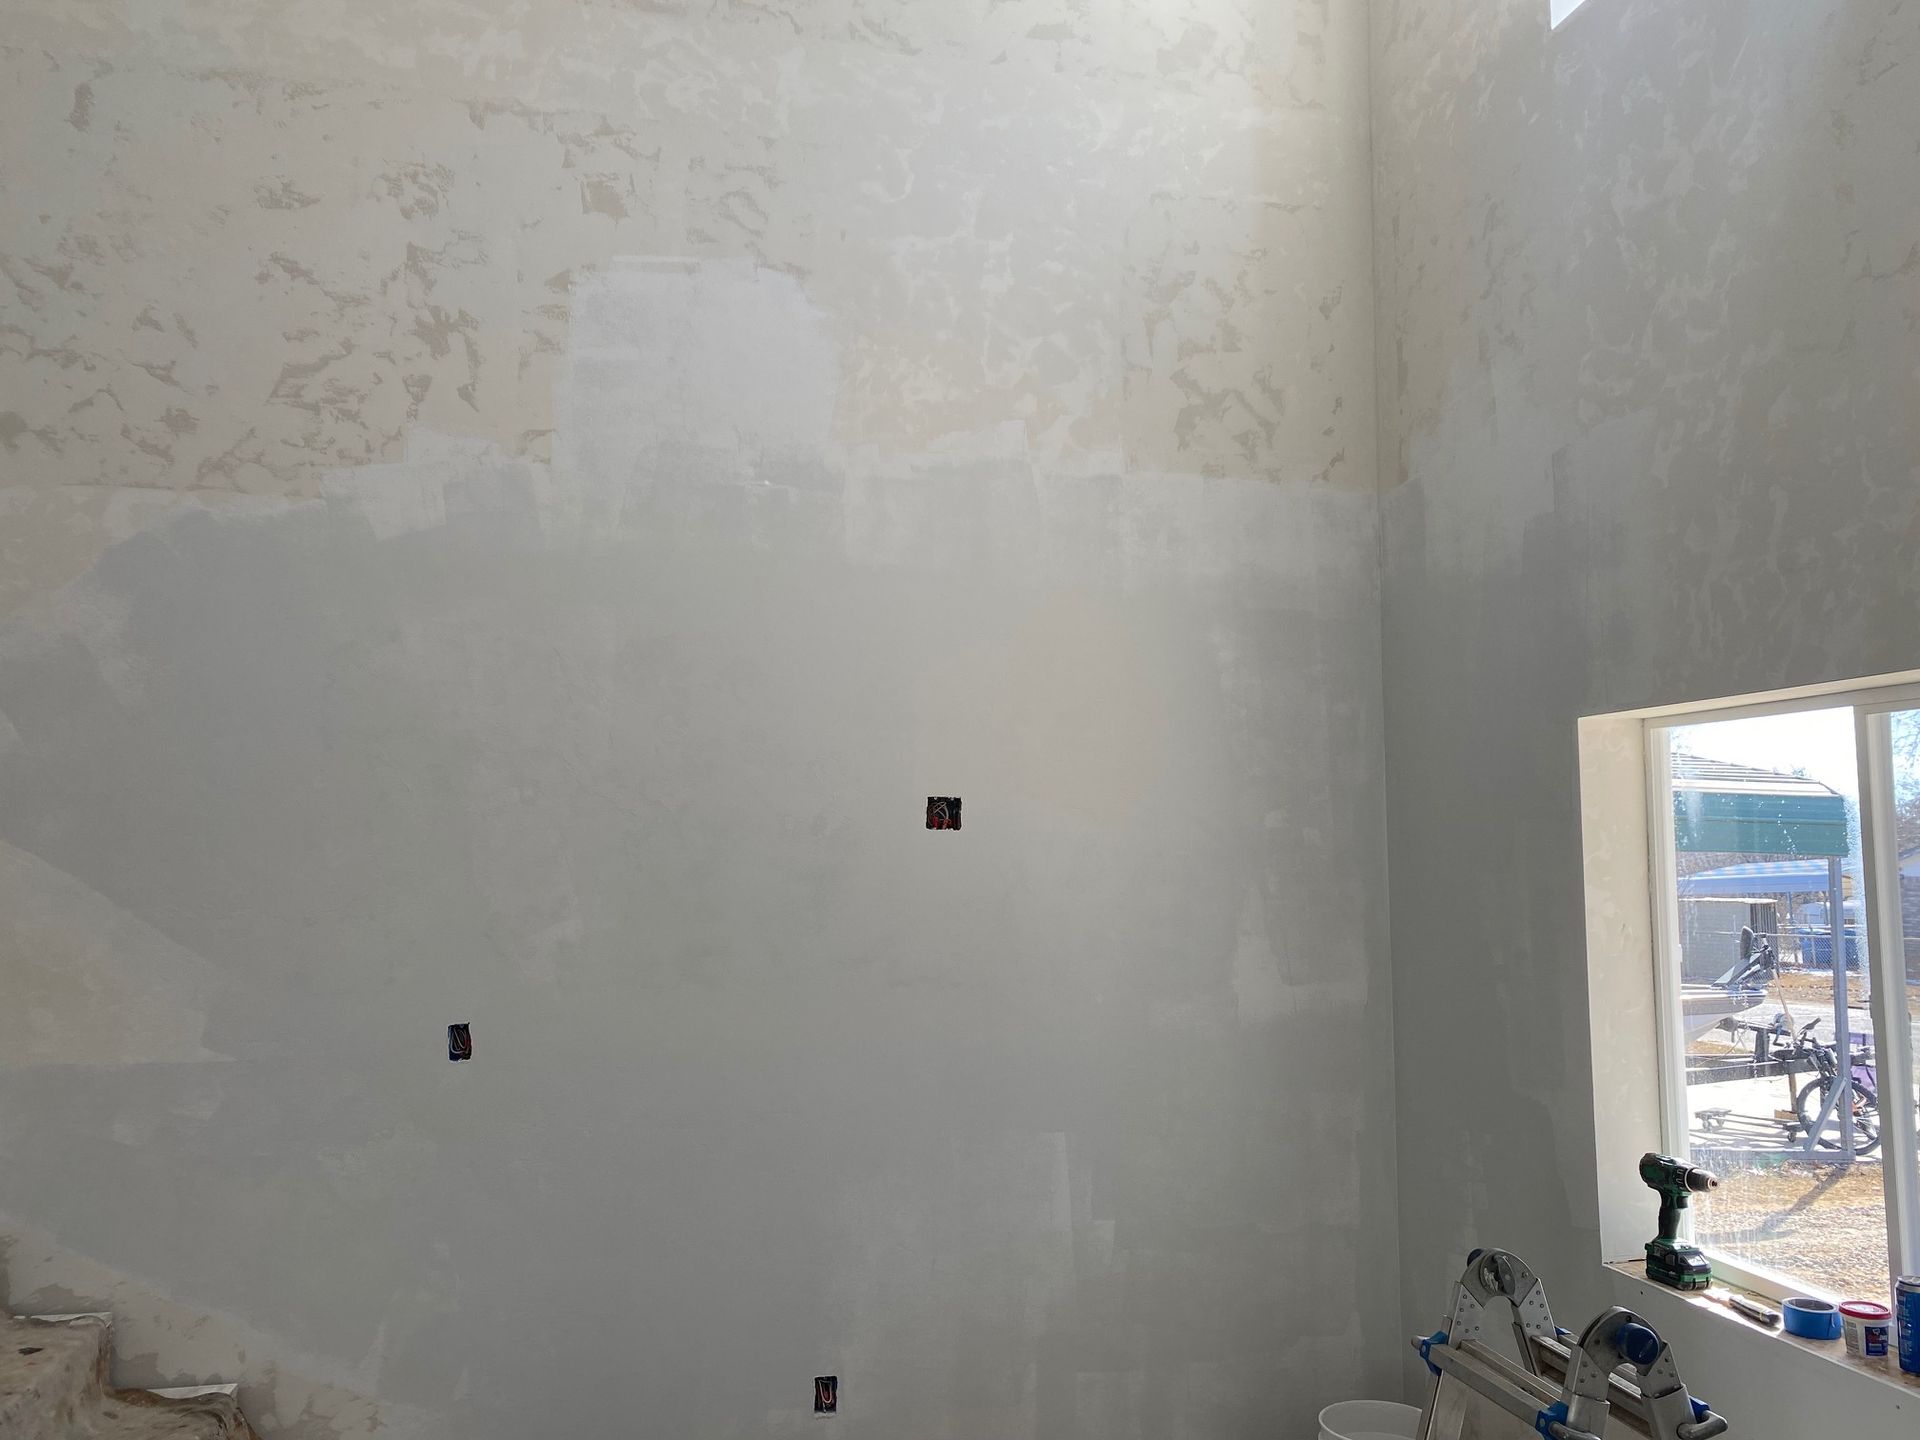
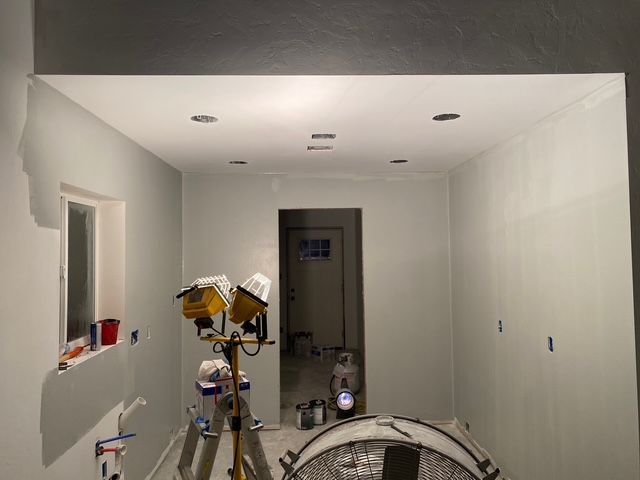
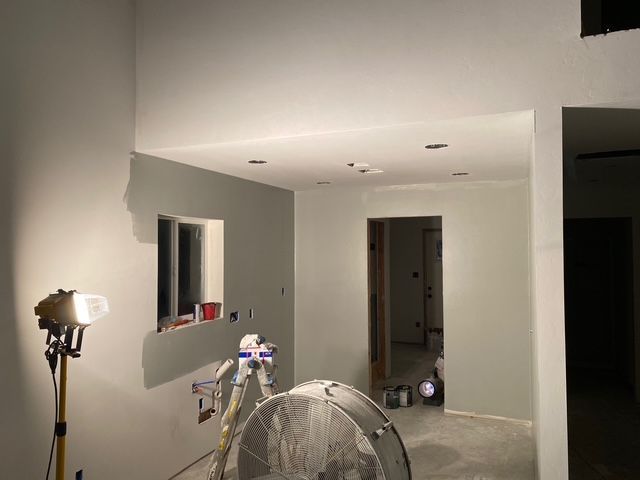
First week I applied two coats of primer and sanded walls to smooth out imperfections
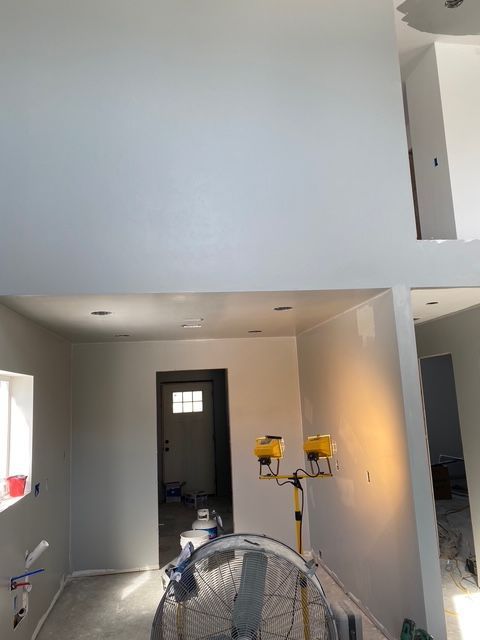
Continued
Cotinued
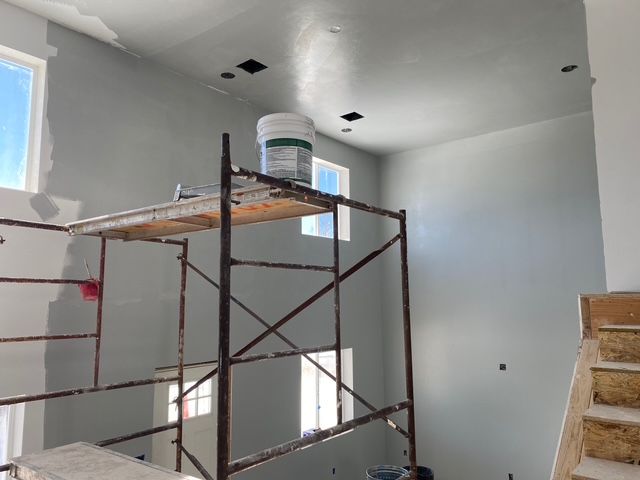
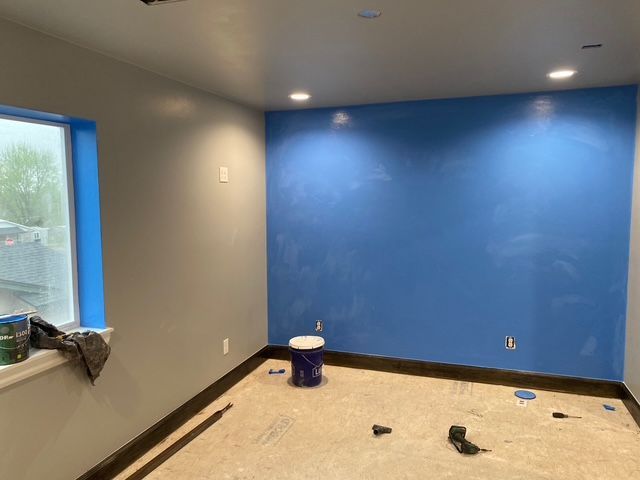
After completing two coats of primer and touch ups, I began applying first coat of paint. Total time of paint before trim 2 weeks
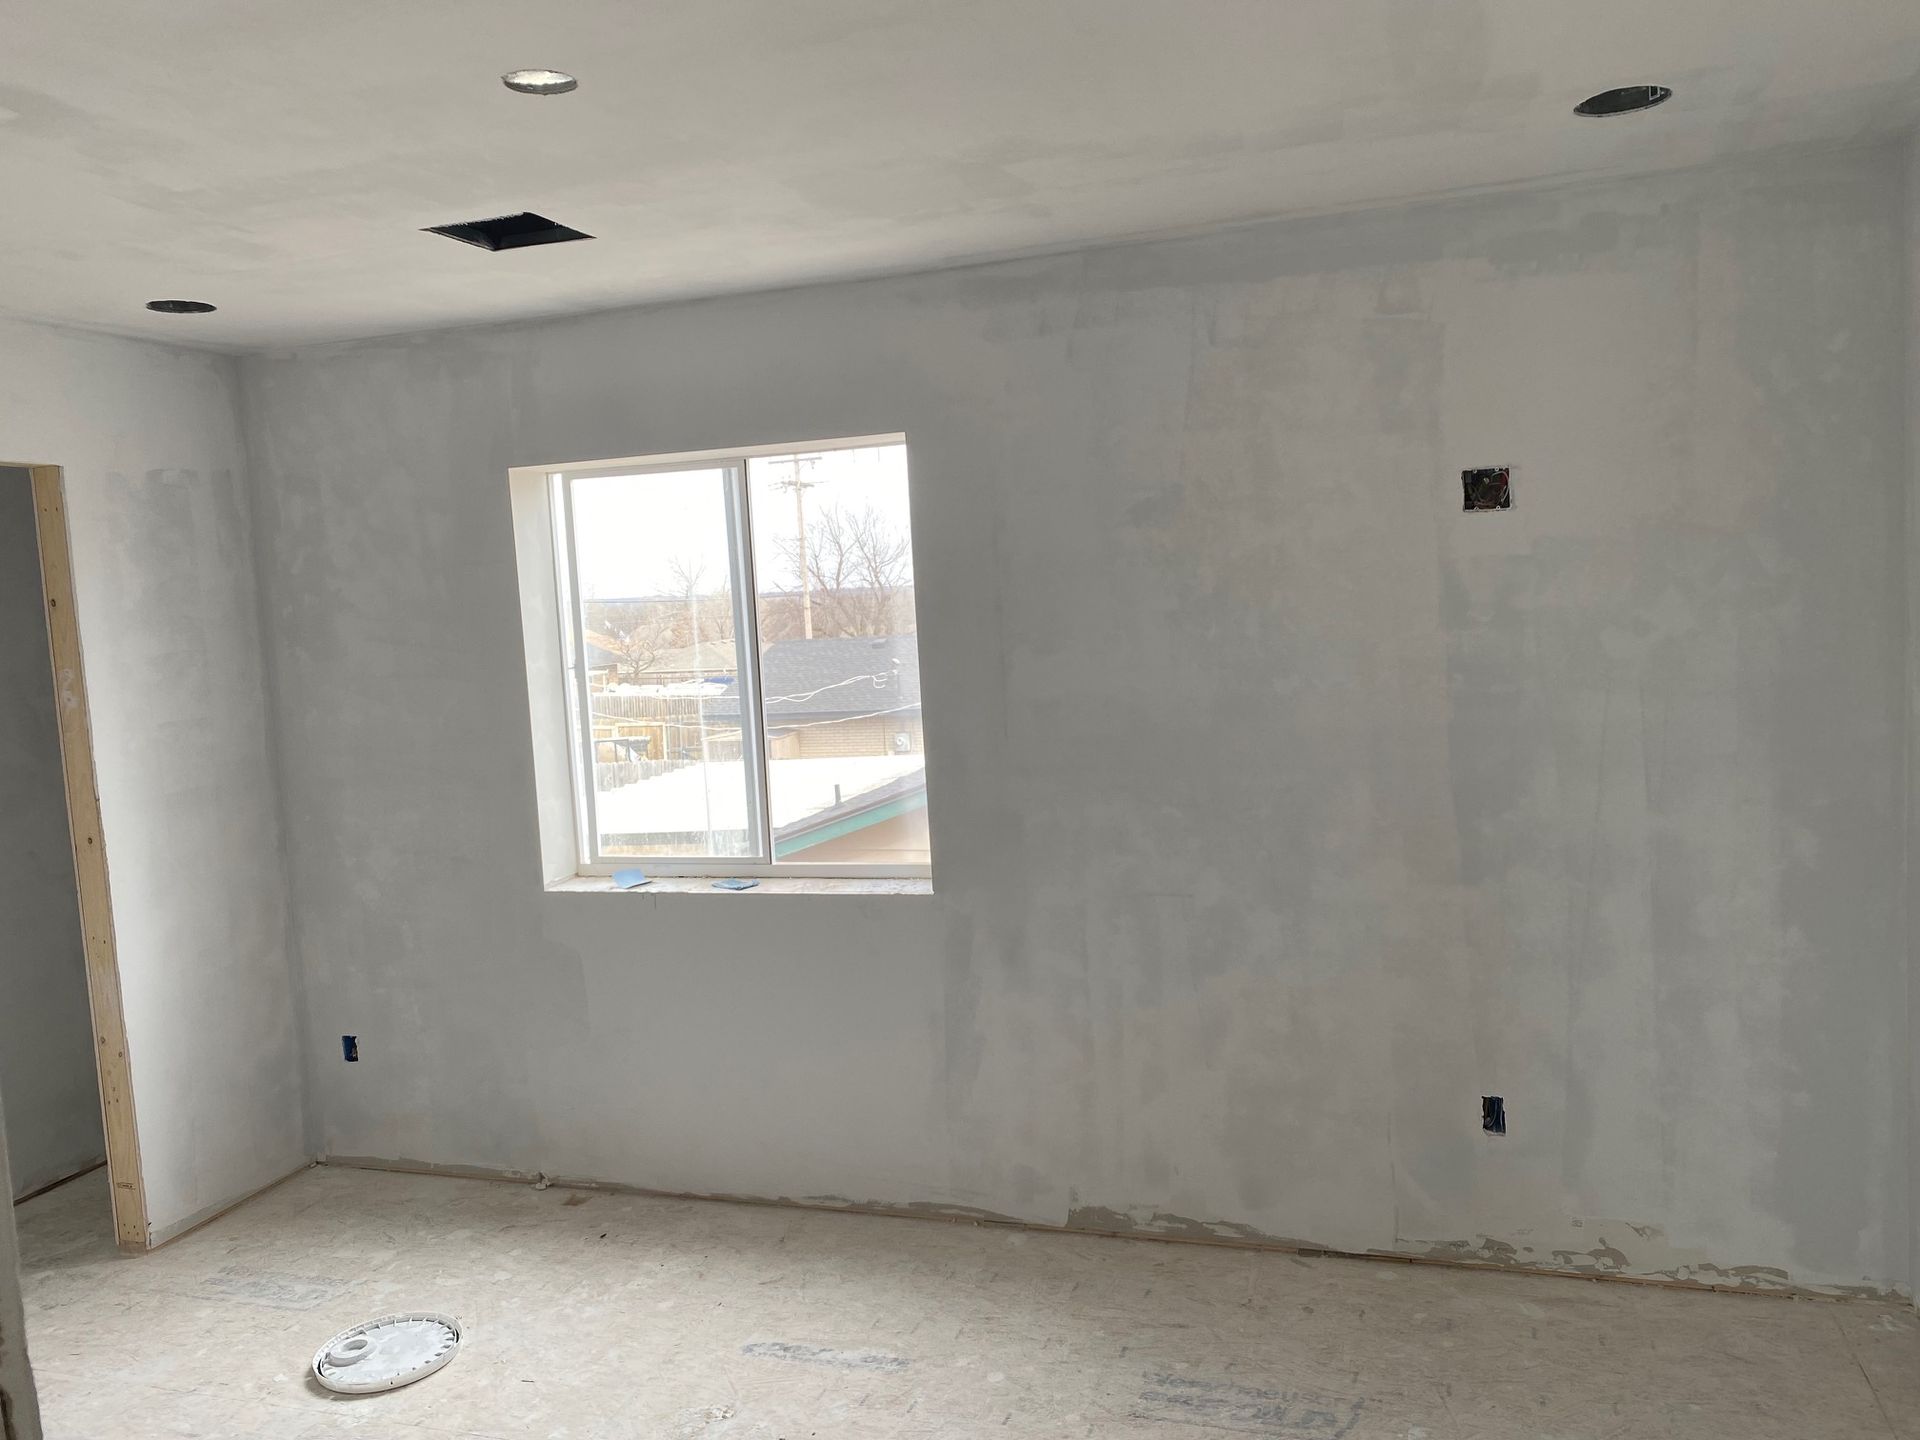
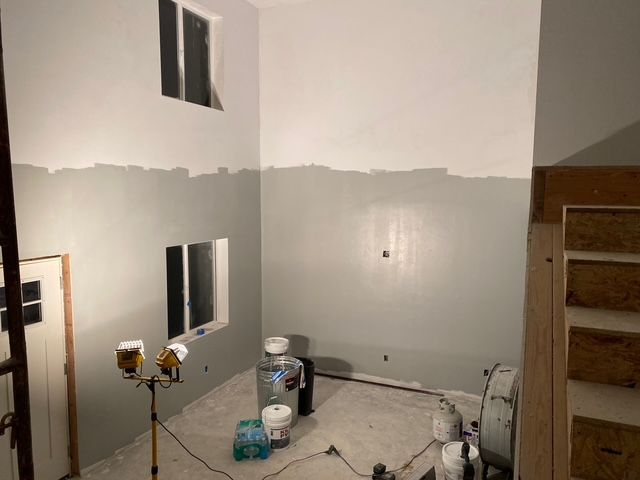
First floor first coat
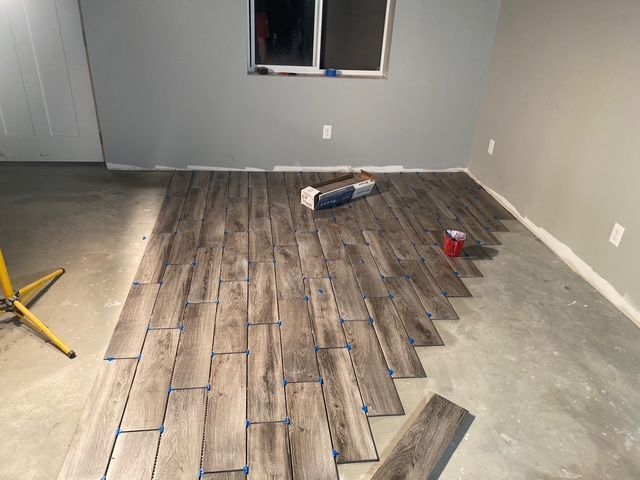
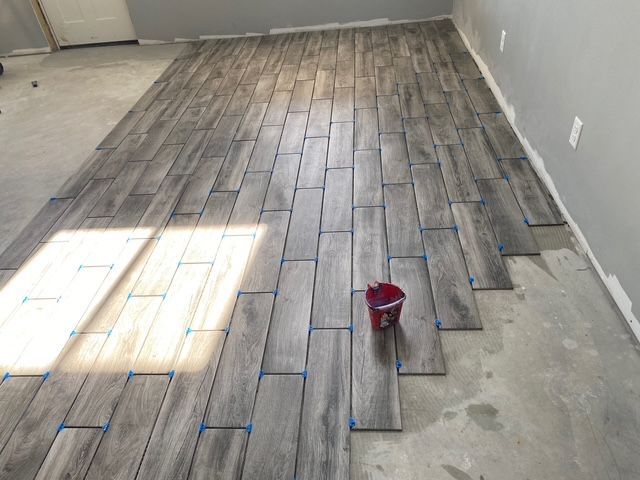
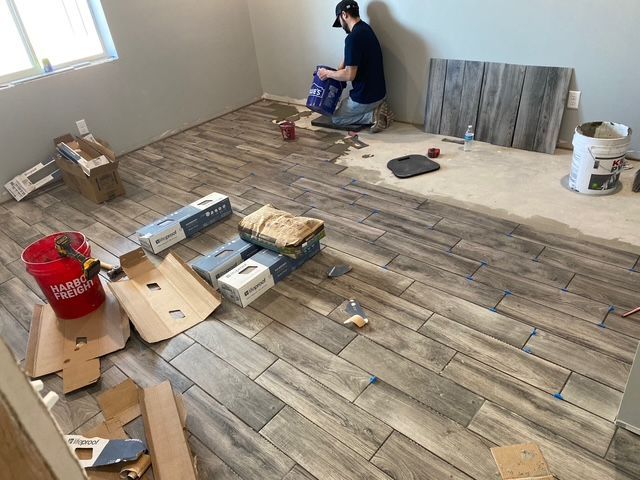
Tile work began following second coat of paint and it took 3 weeks to lay and grout floor
This was our first day stopping point
Progress after the second day
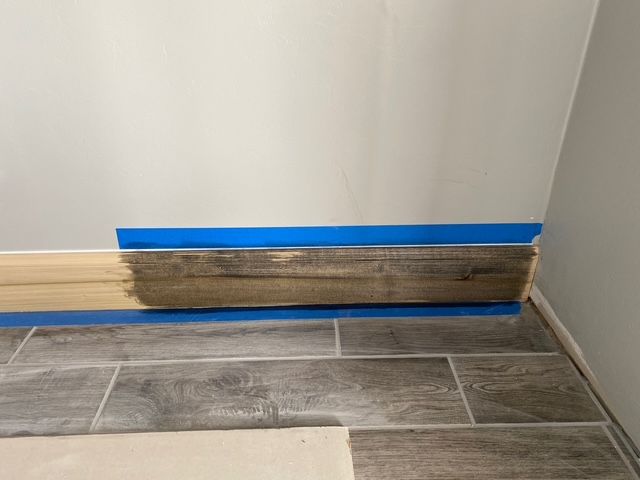
After the flooring and trim were installed, we stained the base, case, painted cabinets, and doors
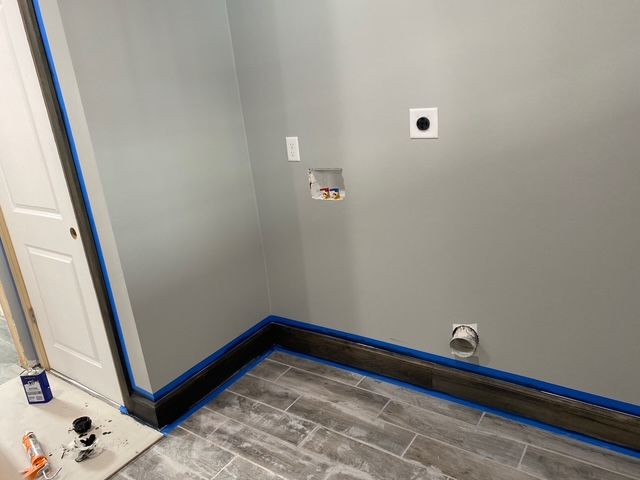
Utility room
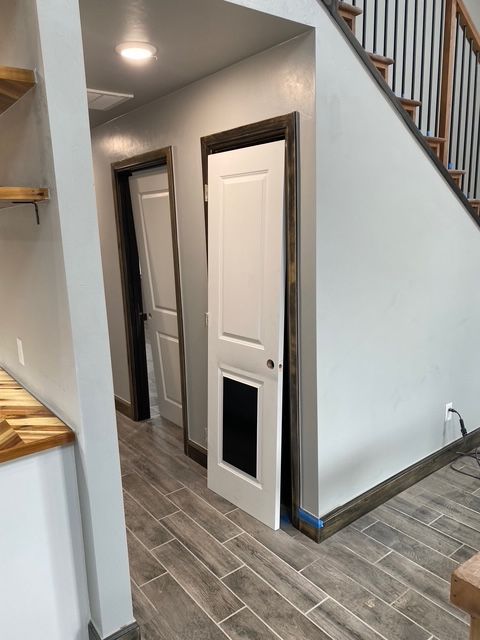
Door trim stain
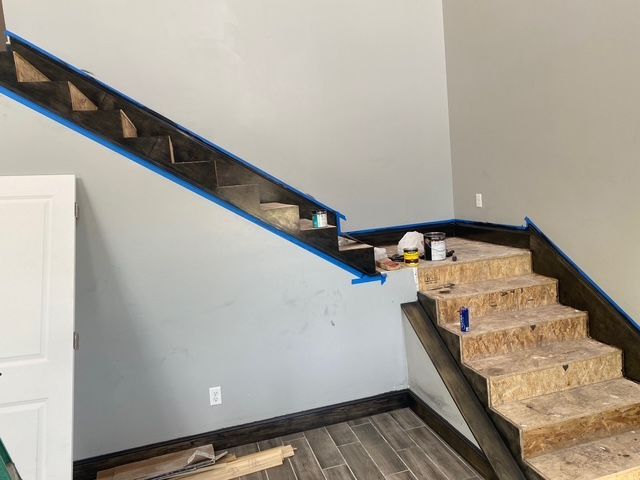
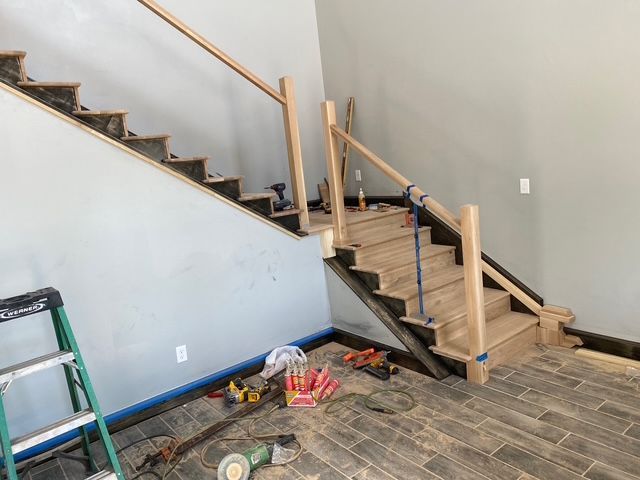
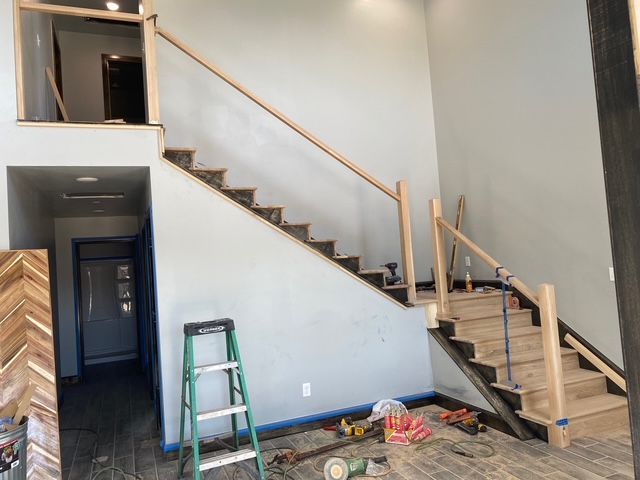
Stair trim
More trim work
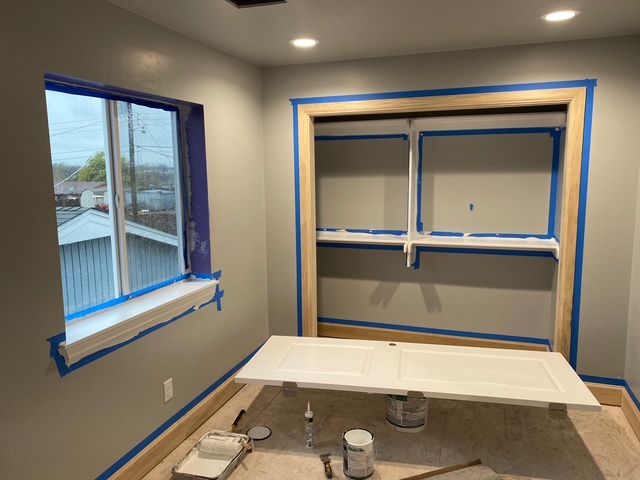
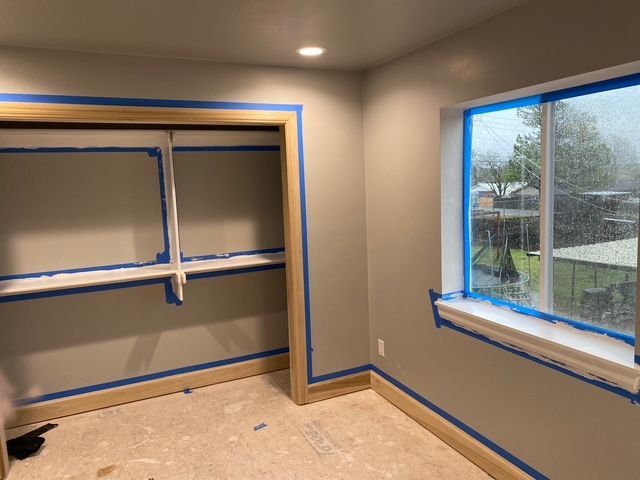
Bedroom #2
Bedroom #3
First coat in bedroom #3 complete
After the painting was completed, we jumped into the kitchen to set appliances, countertops, and sink
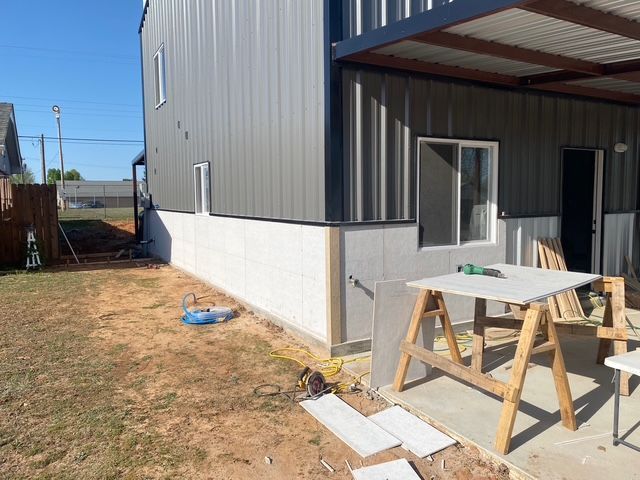
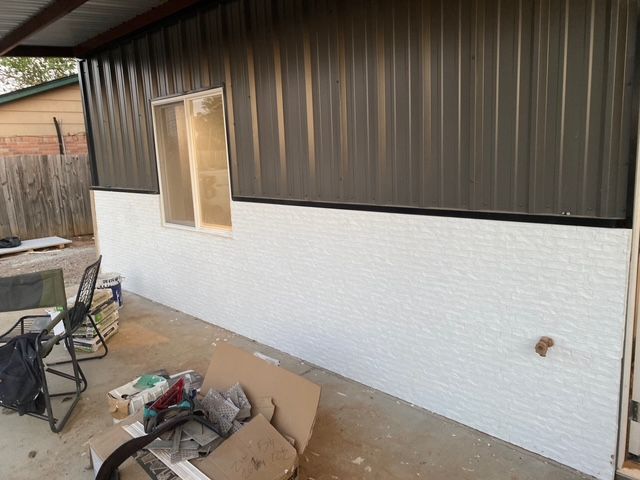
With the interior only lacking minor details in finishes, we started applying hardy board to the Wayne’s coat
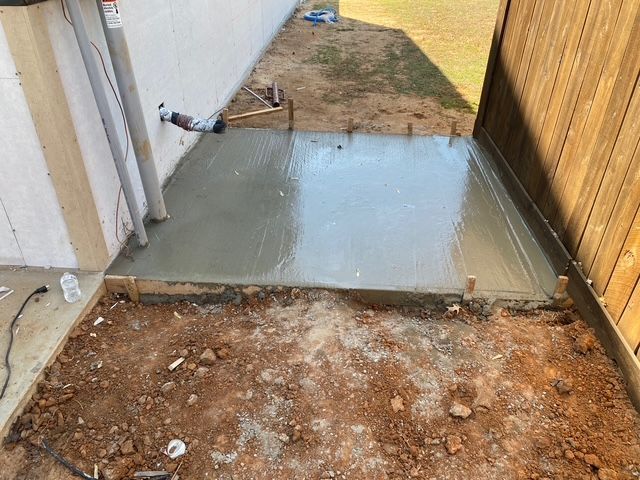
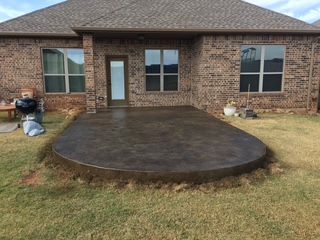
We hand poured the sidewalk
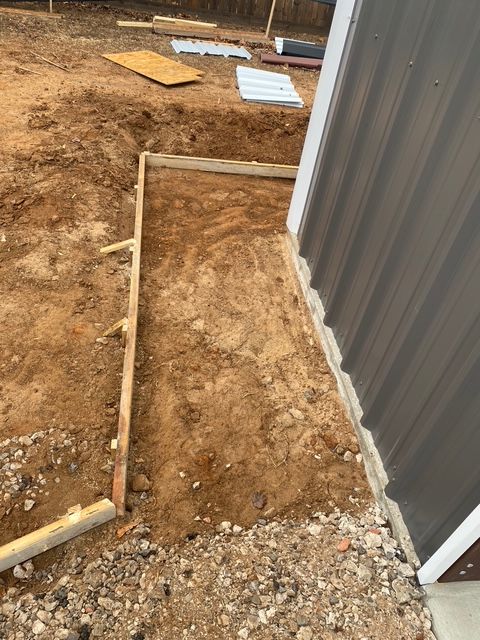
The start of the AC pad
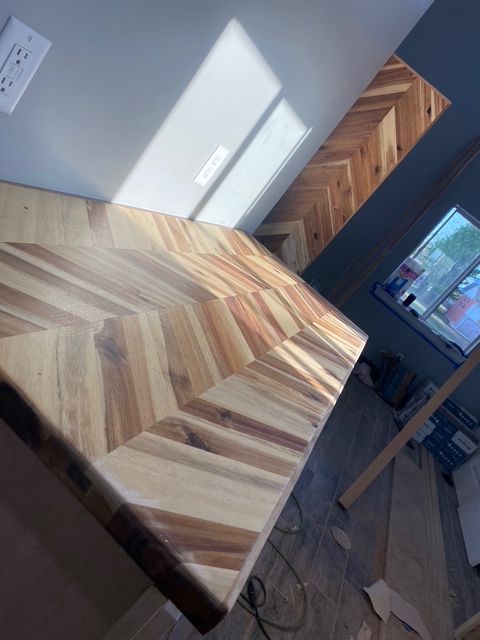
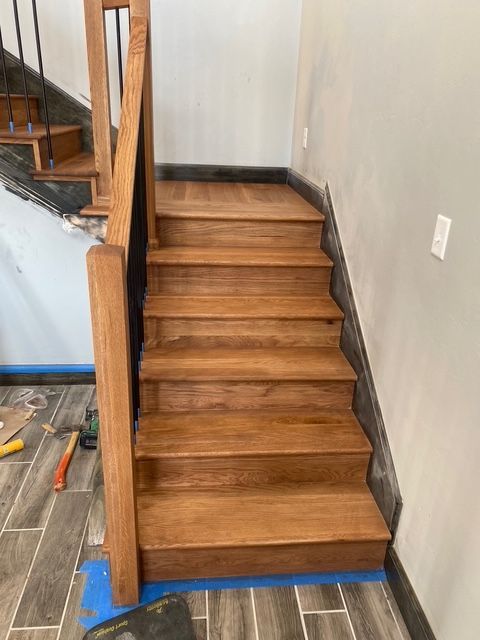
Installation of the white oak treads
Wayne's coating before window trim
Beginning grade for the septic and water tie in
First coat of poly, before light sanding
The owner wanted two tone paint his doors so they matched the trim
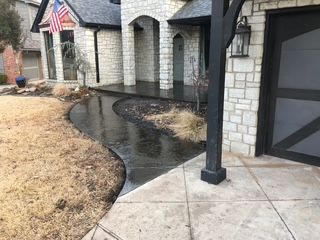
Wayne's coating is completed prior to driveway pour
1/2” rebar on 22” centers
Two weeks to completion of project: Porches, paint touch up, and Wayne's coating still need to be added